
Now let’s go into a little bit more depth within each step, and learn how to make the great beer, right from the comforts of your own home.
Choose the recipe and ingredients.
Temperature and ingredients depend on the type of beer you are making.
Prepare accessories, wash and disinfect equipment.
Once you have all of the necessary equipment, the first step isn’t actually brewing at all.
First, you’ll need to thoroughly clean and sanitize ALL of your equipment. This step is crucial. Do not take any shortcuts here.
Absolutely anything that will come in contact with your beer during the brewing process should be properly cleaned using an unscented mild detergent, then sanitized using a solution that is approved for sanitation.
Once you’ve properly cleaned and sanitized your equipment, it’s time to get brewing!
Heat the water, add milled malt (cracked grain).
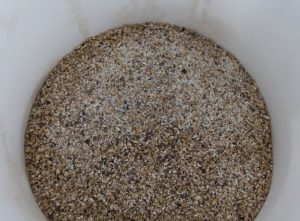
The first step of brewing beer is the mash, or mashing.
The mash is the process of activating enzymes in the grain to change starches into sugar, ultimately providing the necessary “food” for the yeast. It will also create the base for the color, body and overall flavor of your beer. Mashing is somewhat similar to steeping tea. You will immerse your grain bill in hot water.
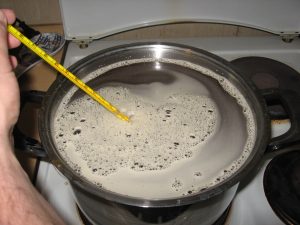
Stir occasionally, check the temperature.
Decant malt (lautering)
The next step is lautering, which is the process of separating the wort from the grain.
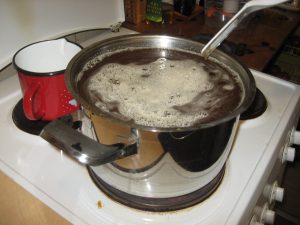
Warm the wort to a boil
The boil can sometimes be confused with the mash, but they are actually two very different processes.
The mash, which converts starches into sugars, does not actually do so at a boiling temperature. However, the boil is appropriately named. The temperature is much higher than that of the mash and occurs over a longer period of time.
Add hops, at the beginning for bitterness, in the end for flavor
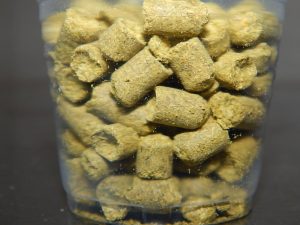
Hops are a key ingredient in beer making and can be used in many different ways to achieve an even wider range of desired effects. Hops also serve as a natural preservative that can protect the beer from bacteria and other potential infections.
Cooking takes an hour.
Cool the wort quickly
With the brewing phase now complete, it’s time to prepare the wort for fermentation. This process involves quickly reducing the temperature of the wort.
Cool the wort down as quickly as possible to prevent infection.
Prepare yeast.
You want to first ensure that your yeast is ready for pitching, so before you even begin the brew, it is especially important to be mindful of yeast health.
Pour into the fermenter.
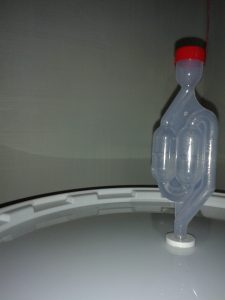
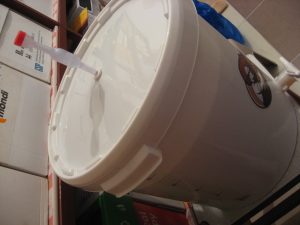
Now that you’ve cooled the wort, transfer it to a storage vessel for primary fermentation. This vessel should be large enough to hold the wort and, if necessary, the sterile topping-up water that you add.
Measure the original gravity, or “OG”.
Once you have the proper volume of liquid, it’s time to take the first gravity reading. The reading will provide you with the wort’s specific gravity, which is its density in relation to the density of water.
Add yeast.
Once you have taken your gravity reading, it is time to add the yeast. In the brewing world, this step is known as “pitching”.
Set up the spit.
Leave the fermentor for 7 to 10 days.
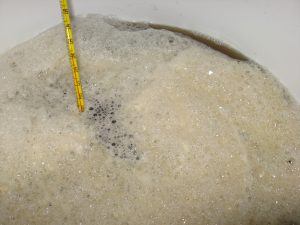
The main purpose of primary fermentation is to allow the yeast to convert the sugars into alcohol and carbon dioxide.
Additionally, the process will allow unwanted particles to sink to the bottom of the vessel, separating them from the beer. The collection of these particles is known as “trub” and is comprised of dead yeast cells, extraneous proteins and hops. This process will take roughly one week, dependent upon the style of beer that you are making.
Measure the gravity for two consecutive days.
Same gravity, fermentation finished.
It’s time to take the final gravity reading, or “FG”.
The final gravity will allow you to calculate exactly how much work your yeast has done during fermentation, and subsequently, your beer’s alcohol content.
Calculate the alcohol content by subtracting the FG from the OG, then multiplying that number by 131
OG – FG x 131.
Fill bottles, add sugar.
First, properly sanitize everything that will come in contact with the beer. Then add the priming sugar.
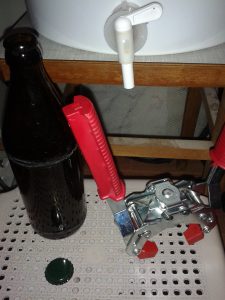
Clog the bottles.
Place a cap on the mouth of the bottle and carefully cap the bottle by using the capper to bend the edge of the cap down around the mouth. Repeat all of the steps until your batch is completely bottled.
Leave bottles for about 20 days.
Once the batch is bottled, store all of the bottles in a cool, dark place for at least two weeks. This allows the beer to go through its final conditioning phase and lets the yeast ferment the priming sugar to produce CO2 to carbonate the beer.
Leave a Reply
You must be logged in to post a comment.