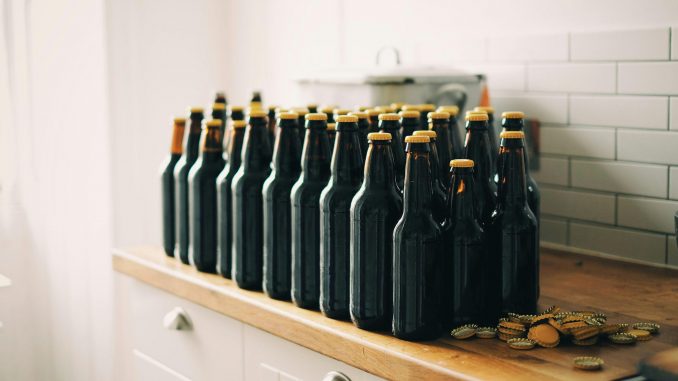
You’ve brewed your beer, fermentation is complete, and now it’s time to bottle it. But how long should you wait before opening the first bottle?
Bottle conditioning is one of the most important stages of homebrewing. During this time, the beer develops carbonation, matures in flavour and becomes more enjoyable to drink. Open a bottle too early, and your beer may be flat or taste unfinished. Wait a little longer, and you may notice a significant improvement.
The good news is that bottle conditioning does not have to be complicated. With the right amount of priming sugar, a suitable temperature and a little patience, you can achieve excellent results at home.
How Long Does Homebrew Need to Condition in the Bottle?
For many standard-strength homebrewed ales, allow approximately 2–3 weeks at a suitable room temperature for bottle conditioning. Some beers carbonate sooner, while others need longer.
The ideal conditioning time depends on several factors:
- The beer style and alcohol content
- The yeast strain and its activity
- The amount of priming sugar used
- The temperature at which the bottles are stored
- The bottle size and the condition of the yeast at bottling
Here is a general guide:
| Beer type | Approximate conditioning time |
|---|---|
| Standard-strength pale ales and bitters | 2–3 weeks |
| Wheat beers | Around 2–3 weeks |
| Lagers bottle-conditioned with suitable yeast | Often 3–6 weeks or longer |
| Strong ales and high-alcohol beers | Several weeks to several months |
| Beers that carbonate slowly | 4 weeks or longer, depending on conditions |
These are starting points, not guarantees. The actual time required varies with the recipe, yeast and storage conditions.
How Bottle Conditioning Works
Bottle conditioning is a natural process in which yeast produces carbon dioxide inside a sealed bottle.
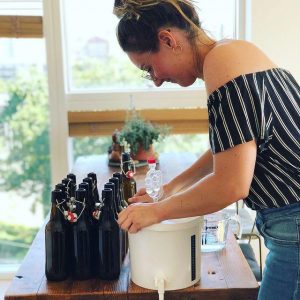
Before bottling, fermentation should be complete and the beer’s gravity should be stable. A measured amount of priming sugar is then mixed evenly into the beer. The beer is transferred into suitable bottles and sealed.
The remaining yeast consumes the added fermentable sugar, producing a small amount of additional alcohol and carbon dioxide. Because the bottle is sealed, the carbon dioxide dissolves into the beer and creates carbonation.
This process also allows the beer to develop its flavour. However, bottle conditioning does not automatically improve every beer indefinitely. Some styles are best enjoyed fresh, while others benefit from additional maturation.
What Is the Best Temperature for Bottle Conditioning?
For many ale yeasts, a stable temperature of approximately 18–22°C (64–72°F) is a useful starting point for bottle conditioning. Always check the requirements of the yeast strain used in your recipe.
Temperature matters because yeast activity changes with temperature.
If the bottles are too cold
Yeast becomes less active at lower temperatures. Carbonation may develop very slowly, or the bottles may appear not to carbonate at all.
If your bottles have been stored in a cold garage, cellar or refrigerator, give them time to warm gradually to a suitable conditioning temperature.
If the bottles are too warm
Excessive heat can stress yeast and negatively affect flavour. It can also create storage-safety concerns, particularly if bottles are exposed to high temperatures for extended periods.
Avoid placing bottles in direct sunlight, near radiators or in very hot rooms. A stable temperature within the yeast’s recommended range is preferable.
Should you keep the temperature constant?
Yes, as far as practical. Large temperature fluctuations can make the conditioning process less predictable. Choose a suitable location where bottles can remain undisturbed at a reasonably stable temperature.
Why Is My Homebrew Still Flat After Two Weeks?
Do not panic if your beer has little carbonation after two weeks. Two weeks is a useful guideline, not a deadline.
Before making changes, consider these possible causes.
1. The beer is conditioning at too low a temperature
This is a common reason for slow carbonation. Move the bottles to a suitable, stable temperature for the yeast strain and give them more time.
2. The yeast is slow or less active
Some yeast strains take longer to carbonate beer, especially when the beer has a high alcohol content or has been stored for a long time before bottling.
3. Too little priming sugar was used
The amount of priming sugar determines the potential carbonation level. If too little was added, the beer may remain less carbonated than expected.
For future batches, calculate the priming sugar based on the beer volume, desired carbonation level, sugar type and the amount of carbon dioxide already dissolved in the beer.
4. The bottles or caps are not sealing properly
Carbon dioxide can escape through an inadequate seal. Check that your caps and bottles are suitable for the intended pressure and that the capping process is correct.
5. The beer was not ready for bottling
If fermentation was not complete, the remaining fermentable sugars can create unpredictable carbonation. Always confirm that gravity is stable before bottling.
What should you do?
If the bottles appear flat, first check their storage temperature and allow more time. Do not immediately add extra sugar to individual bottles. Adding sugar without a controlled calculation can cause excessive pressure and dangerous bottle breakage.
When Should You Put Bottle-Conditioned B
eer in the Refrigerator?
For most standard-strength ales, a practical approach is to allow around 2–3 weeks of conditioning at the appropriate temperature, then test a bottle.
If the beer has reached the desired carbonation level, refrigerate the remaining bottles before serving.
Refrigeration has two useful effects:
- It slows yeast activity and further conditioning.
- It helps carbon dioxide dissolve into the beer and encourages yeast and other suspended particles to settle.
Chilling can improve clarity and make the beer easier to pour. However, refrigerating bottles too early can slow carbonation before it is complete.
If a test bottle is still noticeably undercarbonated, return the remaining bottles to the recommended conditioning temperature and allow more time. Once the desired carbonation has developed, chill them before serving.
How Can You Tell When Bottle Conditioning Is Complete?
The most practical way to check is to open a test bottle.
Look for these signs:
- Carbonation: The beer has the level of fizz expected for its style.
- Head formation: A suitable head develops when the beer is poured, although head formation also depends on the recipe and cleanliness of the glass.

- Flavour: The beer tastes balanced and no longer has the unfinished character you noticed earlier.
- Consistency: Bottles from the same batch produce similar results.
Remember that a bottle can contain carbon dioxide even if the beer does not produce a large head. Glass cleanliness, serving temperature and beer composition all affect foam.
For a more reliable comparison, chill the test bottle thoroughly before opening it and pour it into a clean glass.
Can You Condition Beer for Too Long?
Yes, although the result depends on the beer style, storage conditions and packaging.
Many ordinary homebrewed ales can remain enjoyable for months when packaged properly and stored cool and dark. However, prolonged storage may gradually reduce fresh hop aromas, while oxygen exposure can cause stale or cardboard-like flavours.
High-alcohol beers and certain traditional styles may benefit from longer maturation. Fresh, hop-forward beers are often best enjoyed sooner to preserve their aroma.
For the best results:
- Store bottles upright in a cool, dark place.
- Avoid direct sunlight and excessive heat.
- Minimise oxygen exposure during bottling.
- Use bottles designed for carbonated beverages.
- Follow a suitable cleaning and sanitising process.
Bottle Conditioning Safety: Do Not Skip These Steps
Bottle conditioning creates pressure. If the beer contains too much fermentable sugar or fermentation was incomplete, pressure can rise beyond what the bottles can safely withstand.
To reduce the risk:
- Confirm that fermentation is complete by checking stable gravity readings.
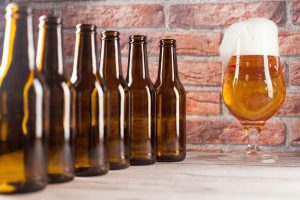
Proper bottle conditioning helps produce the carbonation expected for your beer style. - Calculate priming sugar for the actual volume of beer and the desired carbonation level.
- Mix the priming solution evenly throughout the batch.
- Use clean, sanitised bottles intended for carbonated beverages.
- Store the bottles away from direct sunlight and excessive heat.
Never assume that every bottle is safe simply because some bottles from the same batch appear normal. If you suspect excessive carbonation or dangerous pressure, handle the bottles cautiously and keep people away from them.
Final Thoughts: Patience Makes Better Homebrew
For many homebrewed ales, 2–3 weeks at around 18–22°C is a reasonable starting point for bottle conditioning, provided the yeast strain is suitable for those conditions.
If the beer is flat after two weeks, check the temperature, allow more time and investigate possible problems before making changes. Once the desired carbonation has developed, refrigerate the bottles and enjoy your beer.
Every recipe behaves a little differently. Keep notes about your priming sugar, yeast, storage temperature and conditioning time. Those records will help you achieve more consistent results with every batch.
Leave a Reply
You must be logged in to post a comment.